Desert Rattle Snake up close!
Saturday, July 16, 2011
Tuesday, July 5, 2011
Building Solar Ovens
Building Solar Ovens can be fun, but take your time.
Many variables can change the temperature of your final product.
See if you can detect what those variables could be.
 Materials needed:
4'x4' sheet of cardboard
2 - 8.5”x11” pieces of Mylar transparency
duct tape (1.5 inch or greater width)
aluminum foil
measuring stick
Sharp instrument to cut cardboard (IE.x-acto knife) Parent supervision recommended, of course.
Protractor
1 thermometer
Black paint
White or yellow glue (yellow is better)
newspaper for insulation or packing foam
STEPS:


Many variables can change the temperature of your final product.
See if you can detect what those variables could be.

4'x4' sheet of cardboard
2 - 8.5”x11” pieces of Mylar transparency
duct tape (1.5 inch or greater width)
aluminum foil
measuring stick
Sharp instrument to cut cardboard (IE.x-acto knife) Parent supervision recommended, of course.
Protractor
1 thermometer
Black paint
White or yellow glue (yellow is better)
newspaper for insulation or packing foam
STEPS:


- Outer box construction - The outer box has dimensions 10x10x10inches. The box has no top, so simply cut shape A out of the first of the 4x4 sheets of cardboard. Save the corner square since these will be used for the lid frames. Once the "+" figure is cut, score on the fold lines to make folding easier, fold into the box shape, and then tape sides together.
- Inner box construction - The inner box has dimensions 6x6x6 inches. The box has no top, so simply cut shape B out of the 4'x4' sheet of cardboard. Once the "+" figure is cut, score on the fold lines to make folding easier, fold into the box shape, and then tape sides together.
- Paint the inside of the interior box black.
- Place interior box in outer box and fill with insulation material. Make sure that the tops of the inner and outer boxes are at the same height. (You must place about 4 inches of the insulation material under the inner box). When using the newspaper, first wad the paper up into a ball and then place it in. Do not put the paper in flat on the sides. Always use the wadded up ball method and try to fit the paper in.
- Lid Construction - Cut out 4 frames from the 4 corners saved from Pattern A. Each frame is 10x10 outer and 6x6 inner. When you place the 4 frames on top of each other, they should line up. Be as precise as possible.
- If you have a single glazing oven (which is one Mylar), place your Mylar on top of the 4 pack, cut away the excess Mylar. Tape the Mylar to the top of the 4 pack. If you have a double glazing oven (two Mylar pieces), place one piece of Mylar on the top and one on the bottom of the 4 pack. Again, cut away the excess, and tape the Mylar pieces to the 4 pack.
- Place the 4 pack with the glazing OUT (on top) over the inner and outer boxes. Line up the inner box so that it is directly under the 6x6 hole in the top of the 4 pack. This lineup is critical so that as much sun goes into the oven as possible.
- Build a collar by cutting a 2 inch by approximately 41 inch strip of cardboard. Wrap the cardboard collar around the 4 pack so that the collar hangs down over the outer box and makes a fairly tight seal. Tape the collar to the 4 pack, effectively making a lid for the boxes. The lid should fit fairly tightly. Do not tape the lid to the oven.
- Reflector Construction - Cut out your 4 reflector trapezoid panels based on your design (either 60 or 75 degree angles with the horizontal pieces. (Parents will need to help here with the measuring and layout on the cardboard).
- Place the foil on the ground and place glue on the foil. Now, place your panels on the foil so that they cover the glue. Let dry a bit and then cut the foil around the panels so that the panels are now covered with foil on one side. It is important that the foil remain as smooth as possible.
- Tape the foil panels together by lining up the sides and using the duct tape. When done, you should have a square based pyramid with the top cut off. The top should be a 6x6 inch square and the bottom dimensions are based on the angle that was cut.
- Place the 6x6 end on the glazing (Mylar) over the hole for the inner box. Tape to the lid securely. Do not tape the lid to the oven.
- Congratulations, you are done with the oven.
- Testing - Using the knife, poke a small hole in the side of your oven into the inner box so that it is centered in the inner box. Push you thermometer through the hole into the inner box. Use tape to plug the hole if the thermometer is not tight and steady in the hole. Aim your oven so that it is pointing at the sun (we will help here). Plot you temperature over time (every 4 minutes for 24 minutes should be good enough). Graph the data and see how fast the oven heats up. Compare different designs and different replications of the same design.


Saturday, July 2, 2011
Jane Poynter, a Biospherian
Jane Poynter came to talk with the STEM teachers about her research and experience in the Biosphere 2. She spent two years inside the Biosphere2 living and learning about how to sustain life inside a man-made bubble without any help from the outside.
Click here to watch a video of her speech.
![]()
Click here to watch a video of her speech.

Ocean Biome


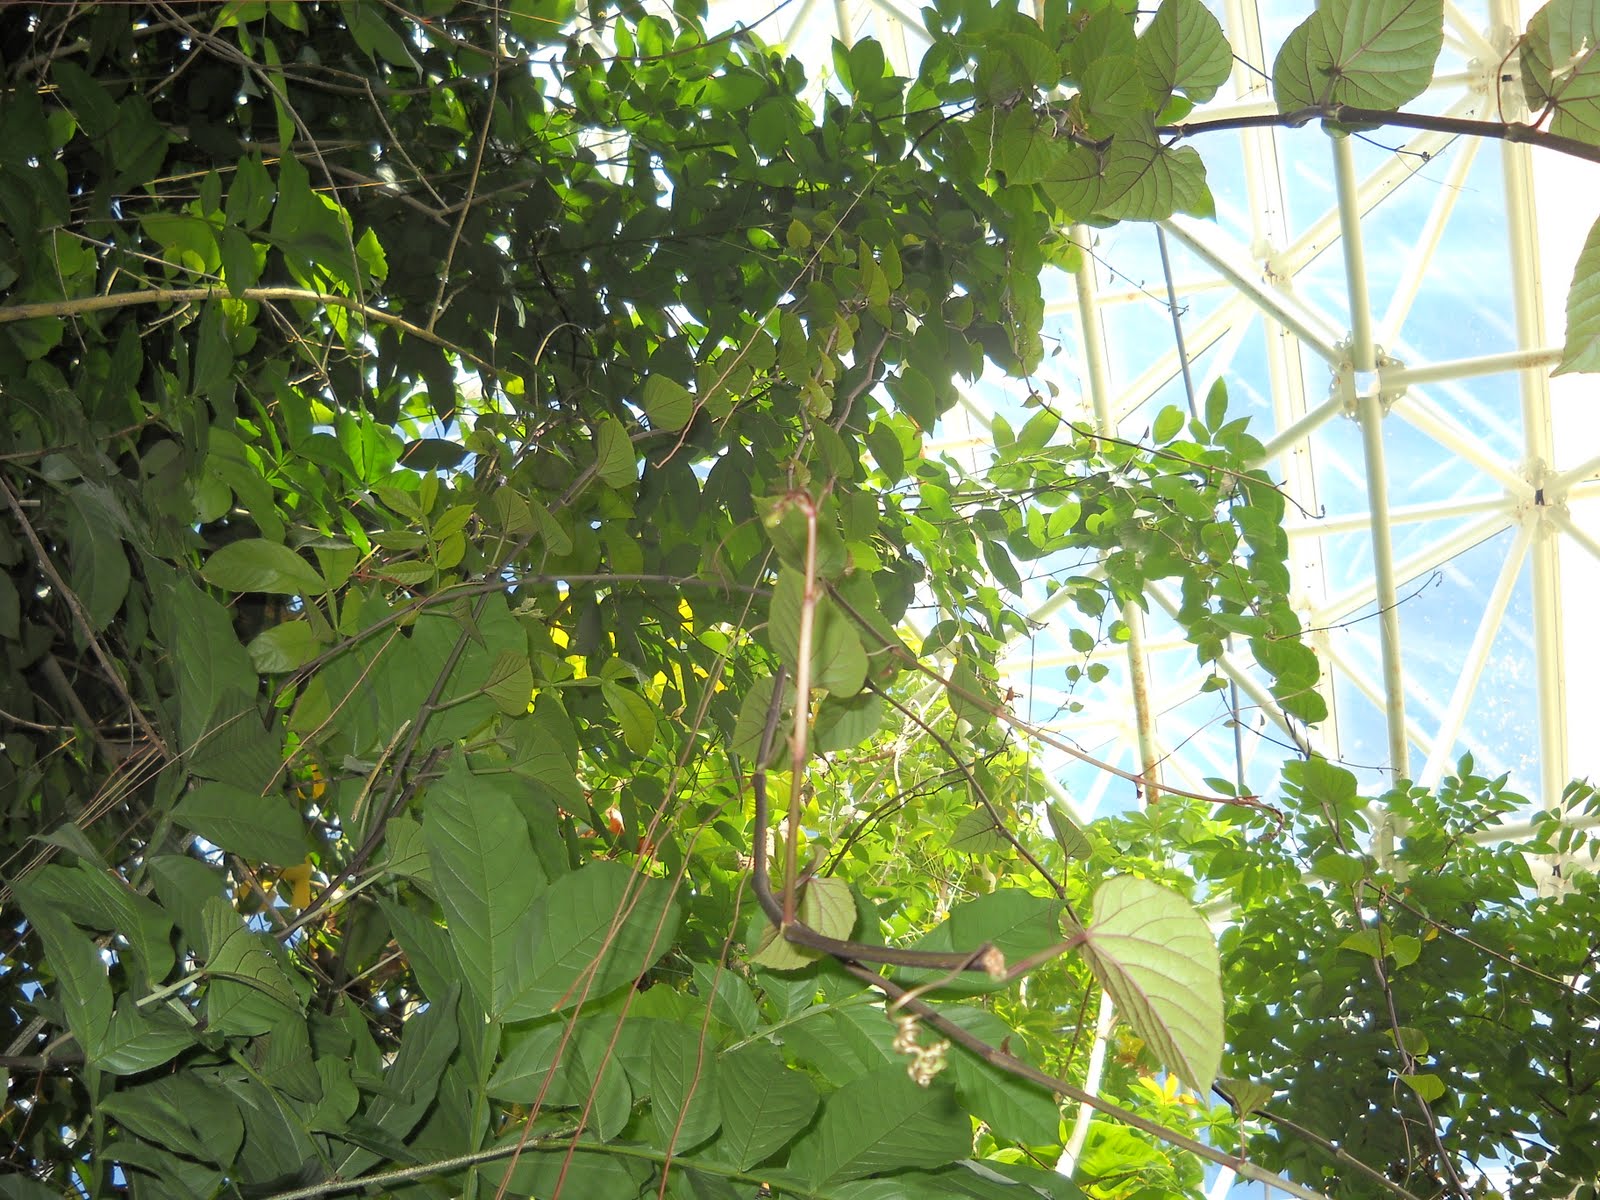
Rainforest Biome


Savannah Biome


Tuesday, June 28, 2011
Thursday, June 23, 2011
Quail Attack at Desert Museum
The STEM teachers visited the Desert Museum and inside the Bird Imporium, this is what happened. Watch the video. Tell me what you think this quail was trying to communicate to me.
Tuesday, June 21, 2011
Pictures of the Biosphere

Below is a video of Biosphere pictures.
In days to come, I will post pictures of each biome.
Monday, June 20, 2011
Day of Engineering
Today, we built Popsicle stick bridges with partners. It seemed fairly simple, but the challenge was that we had to make it to sustain 50 lb weights. I would love to do this activity with students in my classroom. Below are some pictures and a video of what happened.


Saturday, June 18, 2011
Our Lucky Wishbone


The Lucky Wishbone won the contest.
It averaged the highest velocity.
It averaged the highest velocity.
Watch video below. Once we finished testing, we used it to play silly games.
Friday, June 17, 2011
Critters with Distinction

Baby Rattler Snake came to B2 today!

Coiled, ready to strike!

This Gila Monster visited our casita yesterday.


Scorpion illuminated at night.

This critter, a Blue Belly lizard, was saved from a few pine needles that poked him in the belly when he fell from the tree. After removing the needles, the lizard fell asleep in this person's hand when his belly was massaged.
Thursday, June 16, 2011
Biobottles: A Closed System
 |
| A Portable Biosphere |
The bottom layer has a Beta fish enclosed with carbon, gravel, live plants and water.
The middle layer has soil from the B2 Savannah biome, compost soil and four earth worms.
The top layer has air and a marigold plant. At the very top, is an orange lung to capture CO2.
I chose a young fish, so that it can live for a long time. It will be on display in my classroom. Come by to see it.

 |
| What should we name the fish? |

 |
| Marigold in top layer. |
Baking with Solar Ovens in the Desert Sun
 |
| Having fun, but working hard making solar ovens. |
 |
| The inside has another box that is painted with a glossy black paint. |
 |
| We assembled this solar oven together, but made another one for ourselves. |

 |
| We each made a solar oven. Pretty fancy, don't you think? |
 |
| We tested each cardboard solar oven for the highest temperature, because each solar oven was designed differently. Each solar oven had different insulations and different sized foil openings to capture the sun. Would you believe that our oven heated up to 348 degrees? WOW! |
Subscribe to:
Posts (Atom)